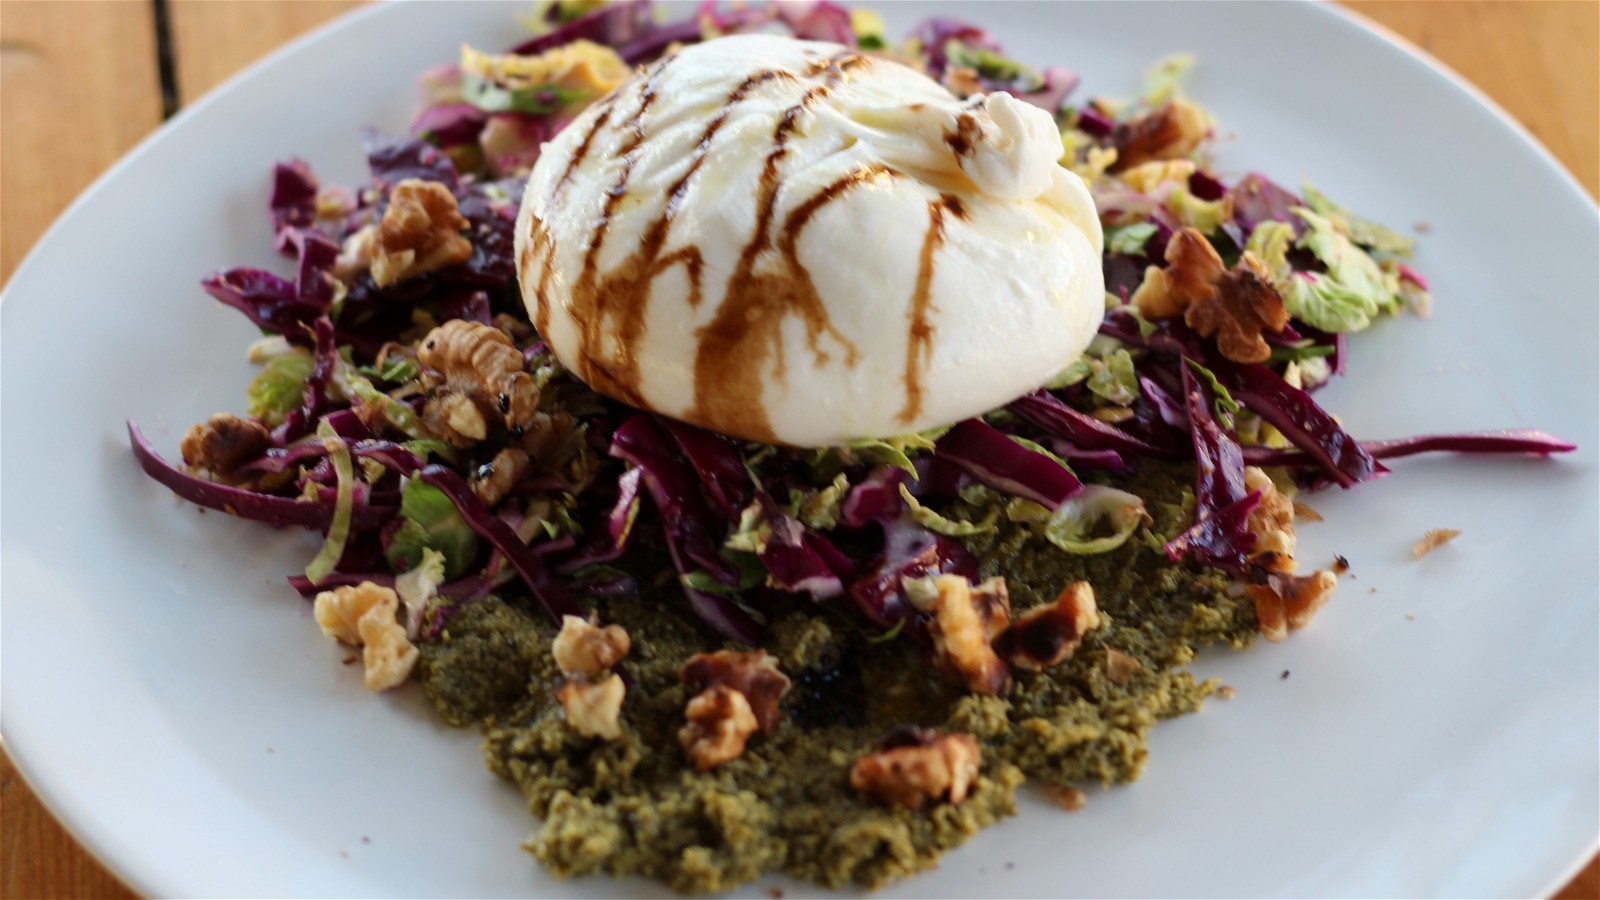
There’s nothing better than digging into a ball of pillowy, luscious burrata cheese—except maybe learning to make it at home. With just a few simple ingredients, you can make your very own burrata with this simple recipe. Want to make it even easier? Pick up our cheesemaking kit, which has rennet, citric acid, and everything else you need to make burrata at home. Just add milk!
Homemade Burrata Recipe
Rated 4.4 stars by 14 users
Category
Cheesemaking
Servings
4
Prep Time
10 minutes
Cook Time
75 minutes
If you have mastered one or more of our homemade fresh cheese recipes and are looking for a new challenge, burrata is the recipe for you.
This burrata recipe is also the perfect way to use up any leftover mozzarella, ricotta, or mascarpone you may have in your fridge.
Our Italian Cheesemaking Kit has everything you need to make burrata and other fresh cheeses at home.
Author:Jessica Sennett

Ingredients
1 cup (237 mL) fresh ricotta, mascarpone or scarps of mozzarella curd
1/2 cup heavy cream, only needed if using mozzarella curd for filling
-
1 batch of homemade mozzarella
1 quart water
Stock pot
Rubber spatula
Kitchen thermometer
Slotted spoon
- Knife
Equipment
Directions
Divide the mozzarella into four equal pieces. Place in a bowl.
Meanwhile, heat water to 180° F (82° C).
Gently pour hot water over mozzarella until covered. Let sit for 5 minutes.
Meanwhile, prepare an ice bath.
Pull each piece out of the water bath one by one and stretch into 4" (10 cm) circles.
Place 2 spoons of ricotta, mascarpone, or mozzarella and heavy cream mixture in the center of the first circle.
Gather the sides of the circle to pinch at the top, locking in the filling.
Place the filled ball in ice bath for 2 minutes until sides firm.
Repeat for each circle, filling, pinching, and chilling.
Enjoy right away or store in the fridge for a couple days by placing in a container and covering with whey or water.

1 comment
Love this recipe and I am going to try it. . . Jessica I would like to know if you could possible do a video on making burrata step by step.
Leave a comment